
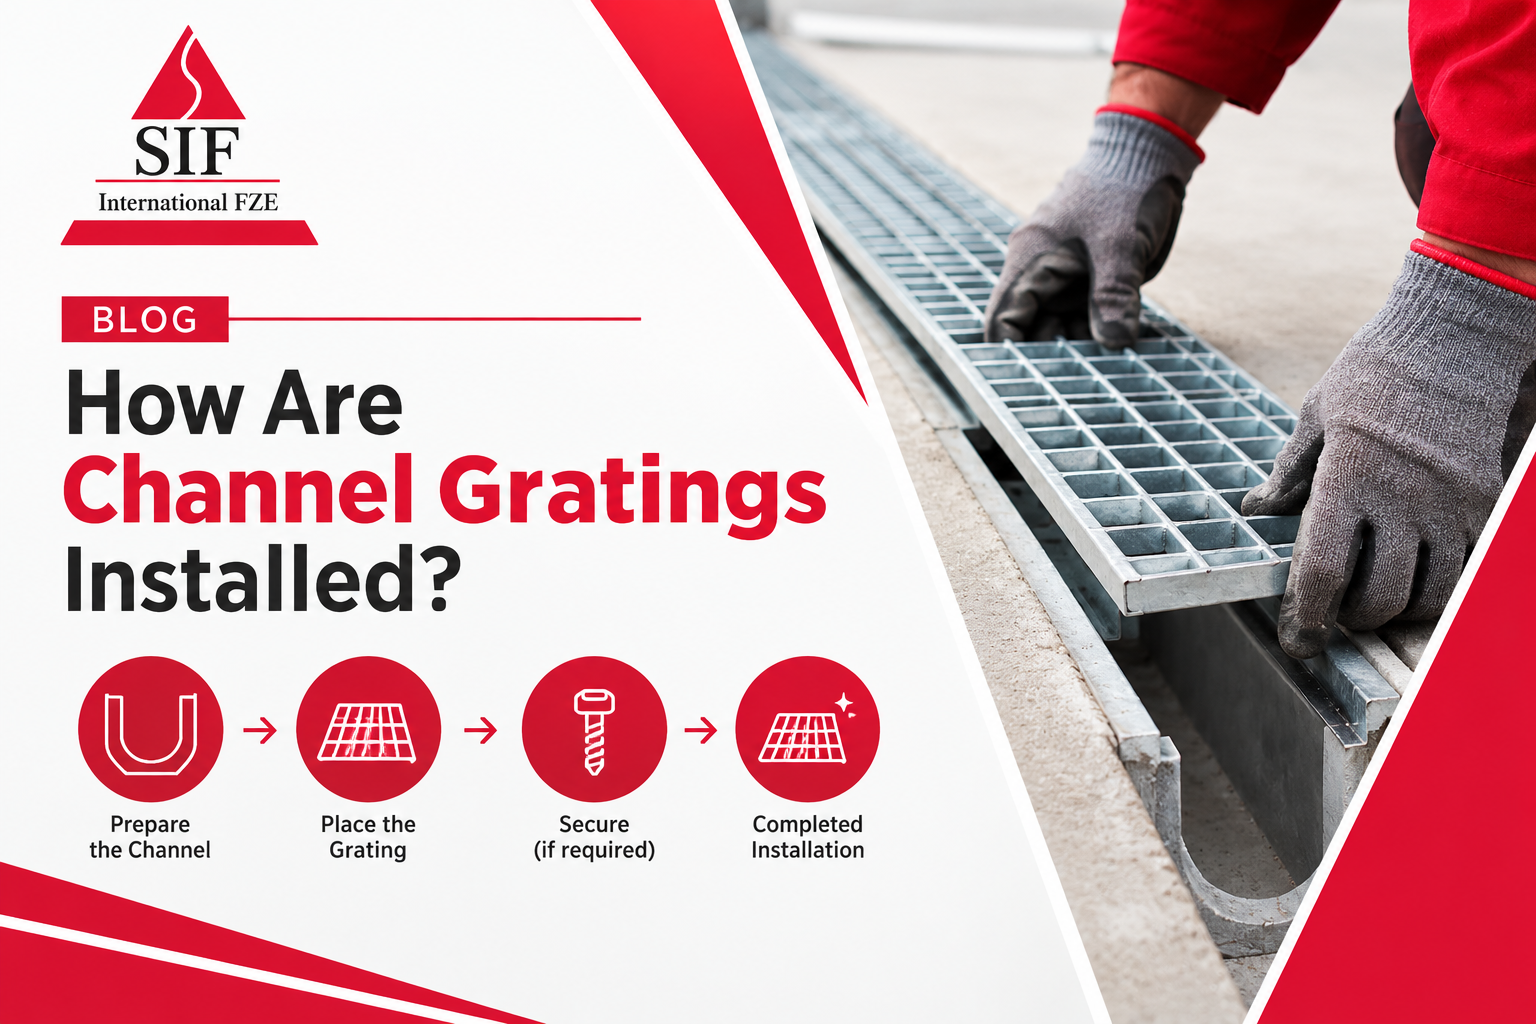
Channel gratings are installed as part of a linear drainage system that collects surface water and directs it toward an appropriate drainage outlet. A proper installation involves preparing the trench, positioning the drainage channel, establishing the correct slope, securing the channel, installing the grating, and completing the surrounding surface so that the finished system can withstand its expected loads.
For roads, pedestrian areas, commercial developments, parking areas, and industrial sites, correct installation is just as important as selecting a suitable grating. Even a high-quality channel grating can perform poorly if the drainage channel is incorrectly aligned, inadequately supported, or installed without considering traffic and loading conditions.
For projects in the UAE, working with experienced Channel gratings Suppliers in Abu Dhabi or Channel gratings Suppliers in Dubai can help contractors select products that match the project's drainage requirements, traffic conditions, and installation environment.
What Are Channel Gratings?
Channel gratings are removable covers installed over linear drainage channels. They allow rainwater and surface runoff to enter the drainage system while preventing larger debris from entering the channel.
Unlike point drainage systems, which collect water at individual locations, channel drainage provides a continuous collection path. This makes it particularly useful for areas where water needs to be collected across a longer surface, such as driveways, pedestrian walkways, parking areas, roads, courtyards, and commercial developments.
The grating itself is only one component of the complete drainage system. The channel beneath it, supporting structure, outlet connection, surrounding pavement, and fixing arrangement all contribute to the overall performance.
How Are Channel Gratings Installed?
The installation process normally begins with planning and site preparation. Before excavation starts, the installer needs to determine the drainage route, finished surface level, outlet position, expected water flow, and load requirements.
Once these factors are established, the trench can be prepared to accommodate the drainage channel and its supporting concrete surround.
Step 1: Plan the Drainage Route
The first stage is determining where the channel drainage system will be installed. The location should correspond with areas where surface water naturally accumulates or where runoff needs to be intercepted.
The installer should also establish where the collected water will discharge. The drainage route needs to connect effectively with the appropriate drainage network without creating unwanted low points or areas where water can remain stagnant.
For larger infrastructure projects, the design should consider rainfall intensity, surface gradients, hydraulic capacity, traffic loading, and local project specifications.
Step 2: Prepare and Excavate the Trench
After marking the drainage route, the required trench is excavated to the specified dimensions.
The trench must provide enough space for the drainage channel, bedding, concrete support, and any other structural requirements specified by the drainage system manufacturer.
The base should be properly prepared and compacted. A weak or uneven foundation can cause the channel to move, settle, or become misaligned after installation.
Step 3: Establish the Correct Level and Gradient
Correct levels are essential to drainage performance.
The channel should be installed at the required elevation and gradient so that water can move efficiently toward the outlet. The installer should check levels throughout the installation rather than relying only on the starting and finishing points.
This is particularly important on long channel runs. Small installation errors can become more significant over greater distances and may affect how effectively water moves through the system.
Step 4: Install and Support the Drainage Channel
The drainage channel is then positioned inside the prepared trench. It must be correctly aligned and adequately supported before the surrounding concrete is placed.
The channel should not be allowed to shift during subsequent construction work. Temporary supports or other installation methods may be used according to the manufacturer's recommendations.
At this stage, the installer should also confirm that channel connections, outlets, joints, and access points are correctly positioned.
Step 5: Provide the Required Concrete Surround
Once the channel is correctly positioned, the surrounding structural support is installed according to the system design and manufacturer's requirements.
The concrete surround provides stability and helps transfer loads from the finished surface into the surrounding structure rather than allowing excessive pressure to be transferred directly to the drainage channel.
The required concrete specification and dimensions can vary depending on the channel system and expected loading conditions. A pedestrian installation, for example, may have significantly different structural requirements from a channel installed in an area exposed to heavy vehicles.
Step 6: Select and Install the Correct Channel Grating
After the channel has been properly supported, the appropriate grating can be installed.
Grating selection should be based on the intended application rather than appearance alone. Pedestrian walkways, car parks, loading areas, industrial facilities, and roads can all have different load requirements.
The grating should fit securely within its frame and remain properly supported across the channel. Depending on the system, mechanical fixing or locking arrangements may be used to prevent movement, theft, or accidental displacement.
This is one reason it is important to work with experienced Channel gratings Suppliers in Abu Dhabi who can help match the grating specification to the project's actual operating conditions.
Step 7: Complete the Surrounding Surface
The final pavement or surface material is installed around the channel grating.
The finished surface should meet the grating frame properly without creating an unnecessary raised edge or depression. Correct finishing helps reduce trip hazards and allows surface water to enter the drainage system effectively.
For roads and areas exposed to vehicle traffic, the surrounding pavement must also provide sufficient structural support to prevent movement around the grating.
Step 8: Inspect and Test the Installation
The final stage is inspection and testing.
The installer should check that the gratings are correctly seated, the drainage channels are clear, the outlets are connected, and the finished surface is properly aligned.
Water can then be introduced to confirm that it flows toward the intended outlet without significant ponding or obstruction.
Any loose grating, damaged frame, blocked section, or incorrect level should be corrected before the drainage system is put into regular service.
Why Is Correct Channel Grating Installation Important?
A channel grating system has to deal with more than water. Depending on its location, it may also be exposed to pedestrians, cars, delivery vehicles, heavy trucks, industrial equipment, dirt, sand, and repeated impact.
Poor installation can therefore lead to problems such as displaced gratings, cracked surrounding concrete, settlement, blocked drainage channels, ponding, and premature deterioration.
Correct installation ensures that the grating, channel, frame, and surrounding pavement function together as one drainage system.
For infrastructure projects in Dubai, selecting products from experienced Channel gratings Suppliers in Dubai can also help contractors identify suitable grating configurations for the intended application and loading conditions.
What Should You Consider Before Installing Channel Gratings?
The most important consideration is the environment in which the drainage system will operate. A grating installed beside a pedestrian walkway does not necessarily require the same specification as one installed across a busy road.
The expected traffic, drainage requirements, channel dimensions, grating material, load class, corrosion exposure, surface finish, and maintenance requirements should all be considered before installation.
The location of the drainage outlet is equally important. A well-installed channel cannot perform effectively if the collected water has nowhere suitable to discharge.
Common Installation Mistakes to Avoid
One of the most common mistakes is failing to establish accurate levels before installing the channel. An incorrectly positioned channel can reduce drainage efficiency and create standing water.
Another issue is insufficient structural support around the channel. If the surrounding concrete or pavement is not designed for the expected load, movement and cracking can eventually affect the grating and drainage channel.
Using an unsuitable load class is another serious concern. A grating designed for pedestrian areas should not automatically be used in a heavy-traffic environment.
Finally, installers should avoid treating the grating as an isolated product. The performance of the complete system depends on the relationship between the grating, frame, channel, supporting structure, surrounding surface, and outlet.
How Can SIF International FZE Help With Channel Grating Requirements?
SIF International FZE supplies infrastructure products for projects where durability, drainage performance, and application-specific specifications are important considerations.
When selecting channel gratings, project requirements should be assessed before the product is specified. This includes understanding where the grating will be installed, the expected traffic, drainage conditions, dimensions, and required load performance.
Whether the project is located in Dubai or Abu Dhabi, selecting the appropriate channel grating and following the correct installation procedure can contribute significantly to the long-term reliability of the drainage system.
Conclusion
Installing channel gratings correctly requires more than simply placing a metal cover over a drainage channel. The trench, channel, structural support, grating, surrounding pavement, and drainage outlet all need to work together.
Proper levels, adequate support, suitable load classification, secure grating installation, and final testing are essential for achieving reliable drainage performance. For projects in the UAE, contractors can also consult experienced Channel gratings Suppliers in Abu Dhabi and Channel gratings Suppliers in Dubai to determine which specifications are appropriate for their particular application.
With the right product selection and installation approach, channel drainage systems can provide an effective and durable solution for managing surface water across roads, commercial developments, pedestrian areas, parking facilities, and industrial sites.
Frequently Asked Questions About Channel Grating Installation
How are channel gratings installed?
Channel gratings are installed over prepared drainage channels. The typical process involves planning the drainage route, excavating and preparing the trench, establishing the correct level and gradient, positioning the channel, providing structural support, fitting the grating, completing the surrounding surface, and testing the finished drainage system.
Do channel gratings need concrete support?
In many installations, the drainage channel and grating require suitable structural support around the channel. The exact support arrangement depends on the drainage system, installation location, surface construction, and expected loading conditions. The manufacturer's installation requirements should always be followed.
How do I choose the right channel grating?
The correct channel grating should be selected according to its installation environment and expected loading. Pedestrian areas, parking spaces, commercial areas, industrial facilities, and roads can require different grating specifications. Material, dimensions, load class, fixing method, and drainage requirements should also be considered.
Can channel gratings be used in roads?
Yes. Channel gratings can be used in road and vehicle-access areas when the complete drainage system is designed and specified for the expected traffic and loading conditions. A suitable load-rated grating and adequately supported installation are essential for these applications.
How often should channel gratings be maintained?
The maintenance frequency depends on the location and amount of debris entering the drainage system. Areas exposed to heavy traffic, dust, sand, leaves, or other debris may require more frequent inspection and cleaning. Regular maintenance helps prevent blockages and keeps water flowing effectively.
Why is the load class important for channel gratings?
The load class indicates the level of loading a grating system is designed to withstand under the applicable classification or project requirements. Choosing an unsuitable load class can result in premature damage or unsafe conditions, so the grating should always be matched to its intended application.